
Remodeling journal
Western Washington Guide to Kitchen Backsplash Installation
Plan kitchen backsplash installation with practical advice on tile, layout, wall preparation, work sequence, and estimate questions for your remodel.
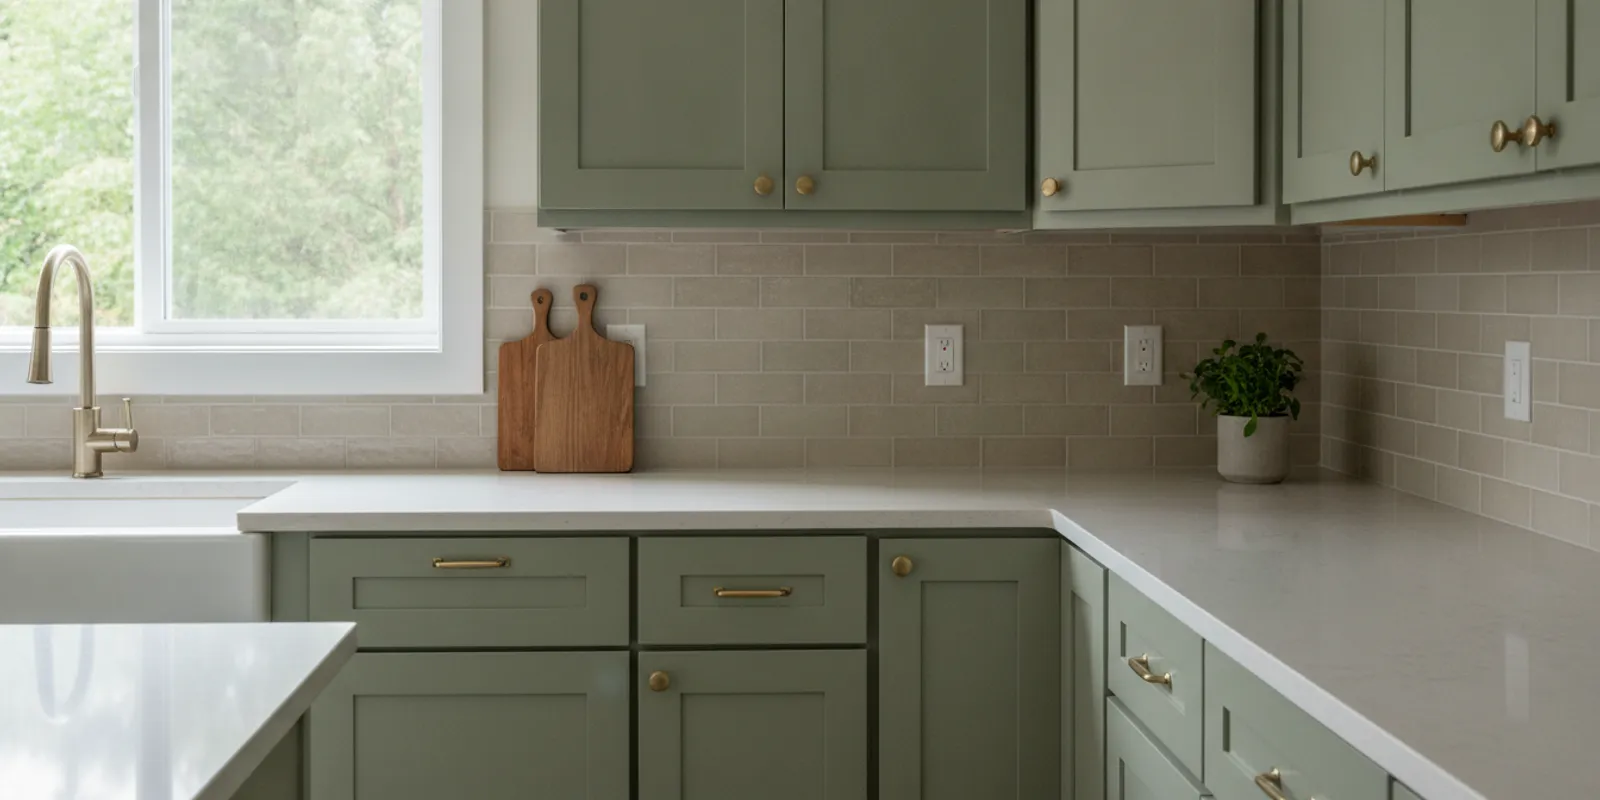
Kitchen backsplash installation can protect the wall behind a sink or range while giving the room a finished look. The right plan accounts for tile, layout, wall condition, outlets, edges, and the countertop and cabinets around it. If you are considering kitchen backsplash installation as part of a larger update, making these decisions early can help keep the scope clear.
What should you decide before choosing a backsplash?
Begin by defining what the project includes. Replacing tile alone is different from coordinating a backsplash with new counters, cabinets, lighting, or plumbing. A backsplash-only project may be limited to a specific wall area; a broader remodel can affect the final dimensions, termination points, and timing. Write down what you want to change and what you plan to keep.
Walk the kitchen and note the surfaces that meet the backsplash. Mark the counter height, upper-cabinet edges, windows, range hood, outlets, switches, and any open wall at the sides. Photograph each wall from straight on. These simple records help you explain the room and ask more useful questions when discussing an estimate.
- Decide whether tile will cover only the standard counter-to-cabinet area or continue behind a range, to the ceiling, or around a window.
- List fixed items that interrupt the tile field, including outlets, switches, shelves, and appliance clearances.
- Collect samples of the countertop, cabinet finish, flooring, and paint so you can compare the whole palette.
- Identify any existing damage, loose finishes, staining, or uneven areas that may need inspection.
For a wider scope, review the kitchen remodeling service and consider how the backsplash fits your other goals. Tubro Construction provides free estimates, and an assigned project manager is the homeowner's point of contact during a project.
Which tile material and layout fit your kitchen?
Tile affects appearance, care, installation details, and the pattern created by grout joints. Ceramic and porcelain are common choices available in many colors and formats. Natural stone can have visible variation and may require particular sealing or cleaning. Product guidance matters: check the manufacturer's recommendations for the specific tile, grout, and setting materials rather than relying on a general rule for every product.
Think about the pattern as well as the material. A horizontal grid can feel orderly; a running bond adds movement; a vertical arrangement can draw the eye upward. Mosaic sheets introduce many joints and repeat patterns, while larger pieces may mean fewer joints but more conspicuous cuts at openings or narrow wall sections. Ask to see several pieces together if shade variation or a repeating design is important.
| Option | What to consider | Planning question |
|---|---|---|
| Ceramic or porcelain field tile | Many formats and finishes; cuts, joint spacing, and alignment shape the result. | How will the pattern line up with counters, cabinets, and openings? |
| Small mosaic sheets | More grout joints and sheet seams need attention to keep the pattern consistent. | Will seams and repeated motifs look balanced at edges? |
| Natural stone | Appearance varies, and care requirements depend on the selected product. | What cleaning or sealing does the manufacturer recommend? |
| Tile extended to a feature boundary | A taller or wider field affects coverage, cuts, and edge details. | Where should tile end, and how will that exposed edge be finished? |
Consider how much visual activity the room already has. If the countertop has prominent veining or color variation, a quieter tile can help the finishes work together. If the counter and cabinets are simple, a patterned backsplash may become a focal point. Neither approach is automatically better; the useful test is whether the fixed finishes and tile look intentional together in the room's actual light.
Use samples to test that relationship. Hold tile beside the countertop and cabinet finish, and view them at different times of day. A sample can show undertones and texture, but a small piece will not reveal the full effect of a repeated pattern. If possible, arrange multiple pieces in the proposed layout before finalizing the selection.
How do you plan the pattern, edges, and outlets?
Measure each wall section separately and sketch its width and height. Add the location and dimensions of windows, outlets, switches, cabinets, and appliances. Measurements help with planning and quantity estimates, but the final order should account for tile format, layout, cuts, and product requirements. Confirm the amount with the installer or supplier before ordering.
Ask where the layout will start and what it will look like at the ends. Centering a pattern on a focal point, balancing cuts on both sides, or aligning a grout line with a cabinet edge can create a more deliberate result. The best choice depends on the wall and tile dimensions. A sketch or dry layout can reveal narrow slivers or awkward cuts before setting begins.
- Exposed ends: Decide whether a matching trim piece, finished tile edge, or another compatible detail suits the chosen product.
- Inside corners: Discuss how the pattern turns and how joints will be finished at the meeting walls.
- Outlets and switches: Include boxes and cover plates in the layout discussion. If electrical locations or wiring need changes, have qualified professionals assess and complete that work.
- Range area: Confirm the appliance and hood arrangement and follow the product guidance for materials in that location.
- Transitions: Plan where tile meets painted wall, cabinetry, a window casing, or another finish.
Outlets deserve particular attention because tile thickness and the finished wall surface can affect how cover plates sit. Do not assume the tile installer can move an electrical box or alter wiring as part of tile setting. Raise the question before work starts so the appropriate trade can assess it and the sequence can be coordinated.
For homes with older painted or finished surfaces, avoid disturbing material that may require special handling until it has been assessed. The U.S. Environmental Protection Agency is a starting point for federal environmental and health guidance; seek the appropriate lead-safety information before disturbing older coatings where that concern applies.
What should happen before tile is set?
The wall must be suitable for the selected installation system. During planning, look for loose material, substantial unevenness, water damage, or layers that may not be secure. A new tile surface should not be assumed to correct an underlying problem. Existing backsplash removal can expose conditions that were not visible beforehand, so ask how discoveries that change the scope will be discussed.
Clear the counters and remove items from shelves in the work area. Protect nearby appliances and finishes, and decide where tools and materials can be placed. If the kitchen will remain in use, discuss which areas need to stay accessible and what temporary limits to expect. The exact arrangements depend on the scope of work and the household.
Confirm the tile, grout, trim, and layout before installation. Check that the chosen material and quantity correspond to the agreed coverage, and make sure any distinctive pattern or directional orientation is understood. Keep product information available so installation and care follow the manufacturer's instructions.
What happens during kitchen backsplash installation?
Exact methods depend on the tile, wall, and project. A typical sequence includes protecting the area, preparing the surface, confirming layout, setting tile, allowing materials to cure as directed, completing joints and edges, and cleaning and reviewing the finished work. A generic timeline cannot account for every product or hidden condition, so confirm project-specific timing with the team.
- Protect the work area. Clear counters and safeguard nearby finishes and appliances.
- Inspect and prepare the wall. Check that the substrate is suitable and address required preparation before setting tile.
- Confirm the layout. Review starting points, joints, cuts, openings, and boundaries before the pattern is installed.
- Set the tile. Use materials appropriate to the tile and substrate, with attention to spacing and alignment.
- Finish joints and edges. Complete grout, movement joints, trim, and transitions according to the selected installation requirements.
- Clean and review. Follow product directions for cleanup and curing, then inspect the field, corners, and exposed edges.
Ask what needs to remain untouched while the installation materials cure. Avoid cleaning, wetting, or placing items against the work sooner than product directions allow. The installer can explain when the backsplash and counters may be used normally and what cleaning method is appropriate for the chosen materials.
What affects the scope and estimate?
A useful estimate reflects the actual work rather than tile price alone. The size of the area, removal of an old backsplash, wall preparation, number of openings, pattern complexity, tile selection, edge treatment, and coordination with other remodeling work can all affect the scope. Conditions concealed behind existing material may also require a discussion if they are discovered during removal.
When comparing estimates, ask each contractor to describe the same boundaries and assumptions. Is removal included? What surface preparation is included? Are tile, grout, trim, and disposal included or separate? Who assesses any electrical changes? How will a newly discovered condition be reviewed before additional work proceeds? Specific answers make proposals easier to compare without assuming that different scopes are equivalent.
For broader budgeting context, read about factors that can drive remodeling costs and cost considerations in kitchen and bathroom renovations. These are prompts for a scope conversation, not a quote for your backsplash.
Keep a written selection list: tile name and format, grout choice, trim, coverage boundaries, and any work excluded from the estimate. If you are considering a change, ask how it affects materials, sequence, and the agreed scope before authorizing it. A clear record helps the homeowner and project team refer to the same decisions.
How should backsplash work fit into a kitchen remodel?
Coordinate the backsplash with cabinet and countertop decisions because those surfaces establish important dimensions and edges. Tile is often planned after those boundaries are known, but sequence varies by project and installation details. Confirm the order with the project team, especially when new cabinets, counters, plumbing, lighting, or appliances are included.
Think about how the room works day to day. A backsplash selection should suit the kitchen's use as well as its appearance. Consider where splashes occur, how much cleaning the surface may need, and whether the selected grout and tile care requirements fit your routine. Follow product instructions for cleaning; an unsuitable cleaner can affect some finishes.
If the project includes other surfaces, review how flooring choices relate to a room and use recent project examples to help explain the style or scope you have in mind. These links can help frame a conversation, but your own room dimensions and selections determine the plan.
What should you prepare before requesting an estimate?
Gather a few straight-on photos, approximate measurements, and a short list of decisions or questions. Note whether the existing backsplash needs removal, what you hope to keep, and whether the project may include cabinets or counters. You do not need every selection finalized to start a conversation; being clear about what is known and undecided helps define the next steps.
- Share the wall sections you want tiled and any planned height or width changes.
- Show samples or links for tile, counter, and cabinet finishes you are considering.
- Point out outlets, switches, windows, corners, and visible wall concerns.
- Ask what the estimate includes, what is excluded, and how concealed conditions are handled.
- Confirm who coordinates related work and when final measurements or selections are needed.
Tubro Construction serves homeowners in King and Pierce Counties in Western Washington and offers free estimates. The company emphasizes transparent upfront pricing and an assigned project manager for each project. A specific discussion of the wall, material, and related remodel work is a practical starting point for determining the scope.
Frequently asked questions about kitchen backsplash installation
Can a new backsplash go over existing tile?
It depends on the condition of the existing surface and whether it is suitable for the chosen installation system. Have the wall inspected rather than assuming a new layer is appropriate; removal or other preparation may be needed.
Should I choose the backsplash before the countertop?
You can explore tile early, but final selection is easier when you can compare it with the countertop, cabinets, and other finishes. Coordinate dimensions and installation sequence with the project team before work begins.
How do I estimate how much tile to buy?
Measure the planned coverage, then account for the tile format, pattern, openings, and cuts. The appropriate allowance depends on the room and layout, so confirm the quantity with the installer or supplier before ordering.
Do outlets need to move for a new backsplash?
Not necessarily. The layout can often be planned around existing locations, but any changes to boxes or wiring should be assessed and performed by qualified professionals. Include outlet positions in the planning discussion.
Can backsplash installation be a standalone project?
It may be possible, depending on the wall condition and scope. If cabinets or counters are also changing, discuss the larger project so measurements, edges, and work sequence can be coordinated.
Contact Tubro Construction about your kitchen project
Make the estimate conversation specific
Before requesting an estimate, bring together your photos, approximate measurements, finish ideas, and questions about outlets, edges, removal, and related work. Explain what you want to improve and what should remain unchanged. That information helps make the conversation concrete and gives you a clearer basis for deciding how the backsplash fits your kitchen remodel.
Bring your ideas. We’ll talk through the next step.
Tell us about your home, your project city, and what you would like to change.
Request a Free Estimate